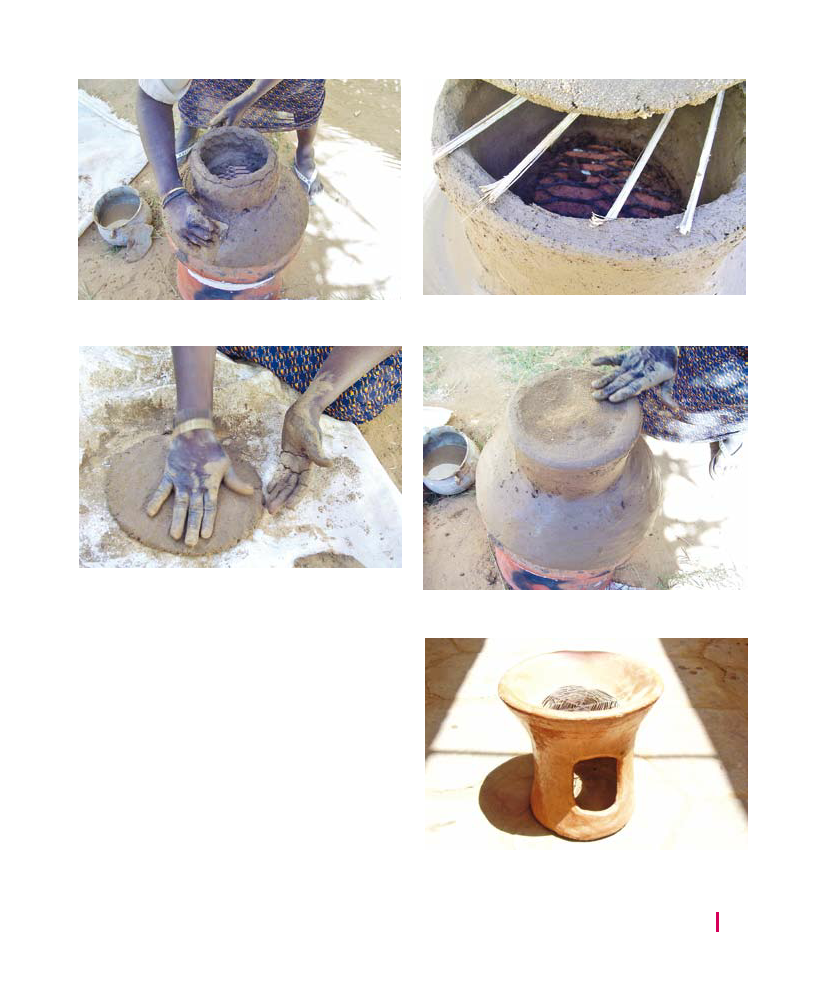
Pic 66. The chamber walls are finished and the
surface is smoothened.
Pic 68. Before securing the base small twigs can be used
for support.
Pic 67. A flat circle of clay is formed which will be the
base of the stove.
12. Following this the base needs to be made which
is done separately. Again gather a suitable clump
of clay and flatten it into a circle, see picture
67.
13. Before putting the base in position put some
small sticks across the hole to support the base,
see picture 68.
14. Put the base over the hole and blend the edges
together so that there is a strong bond between
them, see picture 69.
15. The final stage is to cut a hole out of the side of
the stove for improved air flow and to allow for
the removal of ash that has fallen down into the
base. Picture 70 shows a completed stove that
has been painted.
Pic 69. The base is secured and blended in with the rest
of the stove.
Pic 70. A completed mubkhar stove which has been
painted.
CLAY BASED
TECHNOLOGIES
25