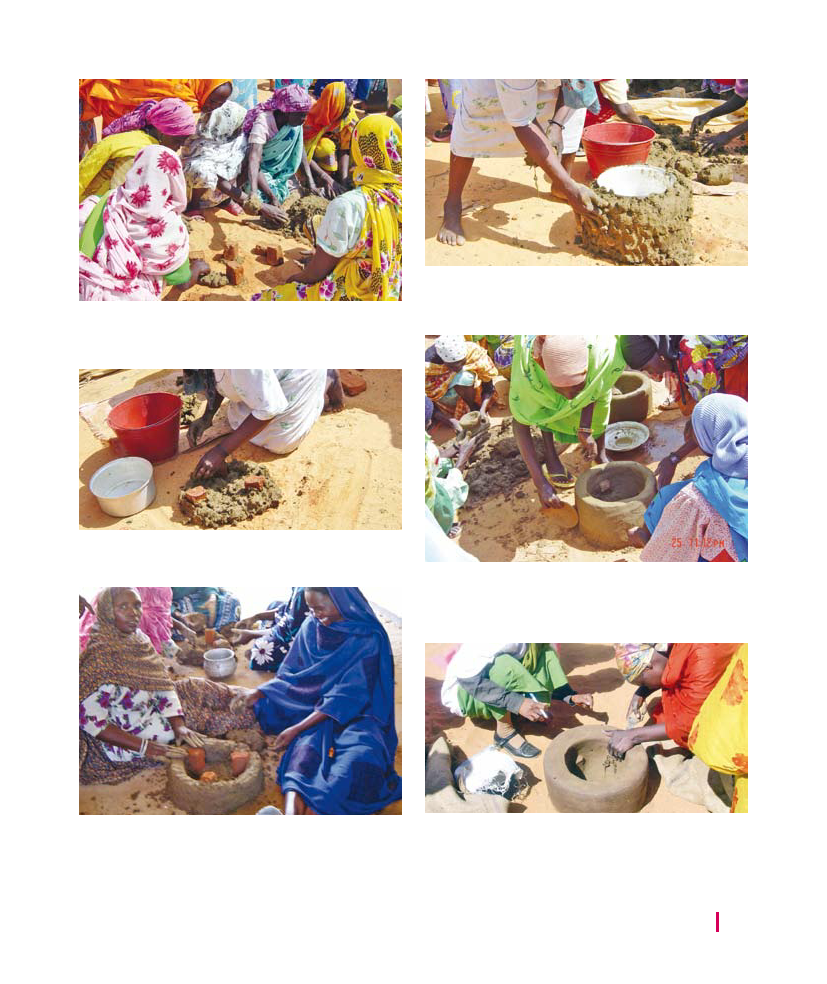
Pic 55. Three brick segments with clay stuck underneath
them are placed an equal distance apart inside the edge of
the circle drawn in the sand.
Pic 58. The pan is then placed on top of the bricks and the
walls are built up until they are just under the top of the pan.
Their should be a finger size gap between the pan and the wall.
Pic 56. The whole circle is filled with clay to a depth of
about 4cm.
Pic 59. The pot is removed and using a scraper the surface
of the stove is made smooth and left for about 1 /2 hour
in the sun before an exhaust hole is cut in the side with a
sharp knife.
Pic 57. The walls are then built up outside the bricks
although a small part of the bricks are embedded in the
wall. The walls are roughly 4cm thick. The wall is built up
until it is flush with the top of the bricks.
Pic 60. This exhaust hole increases the stove efficiency
by increasing the air flow. It also allows wood to be added
without the need to move the saucepan. The stove should
be left to dry naturally, it does not require burning.
CLAY BASED
TECHNOLOGIES
21