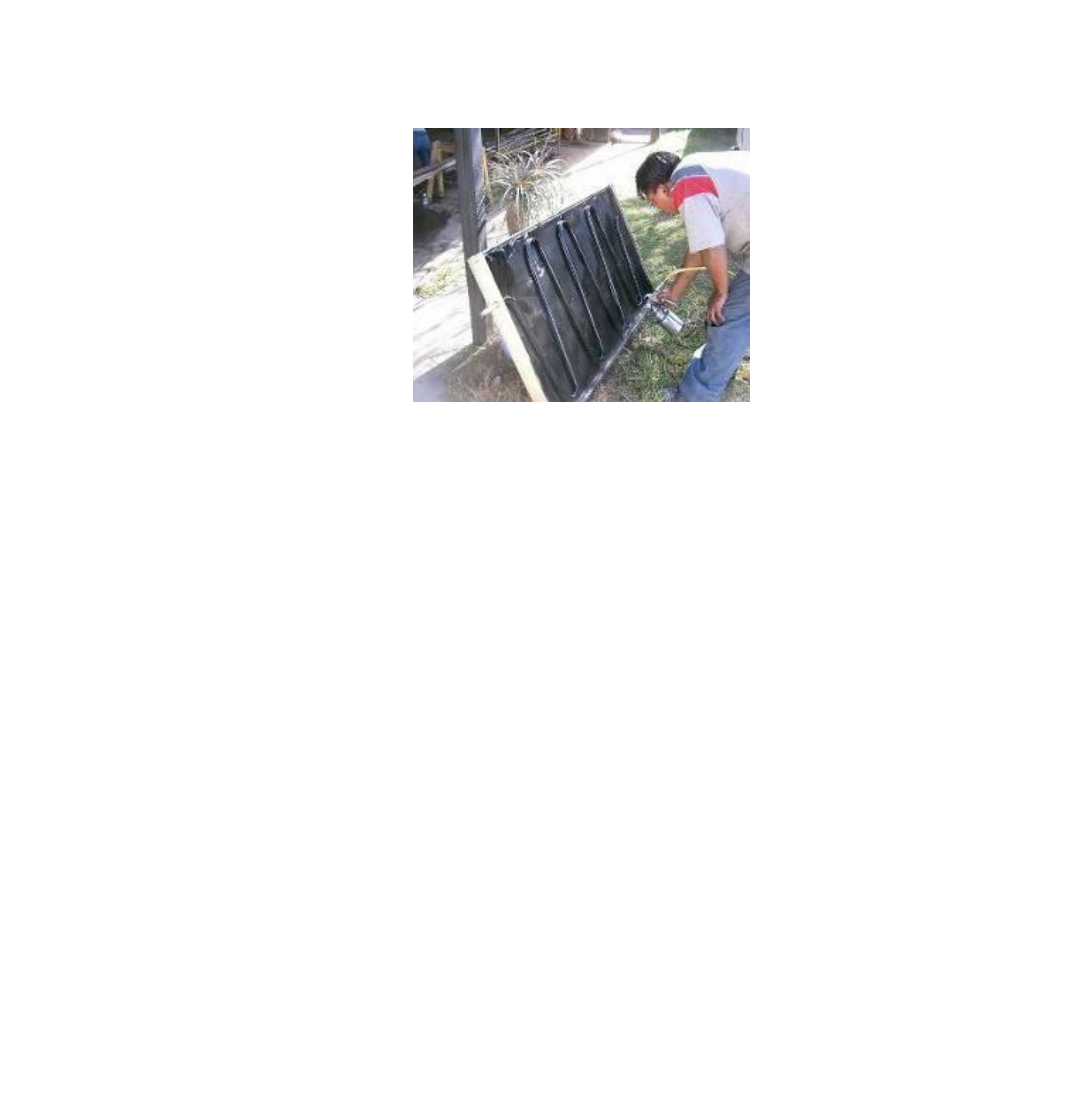
Coating with absorbent paint
Once assembled in its frame, the absorber is re-painted with black anti corrosive matte paint.
Paint the frame to prevent reflectance from the metal.
2.3 Mounting Brackets/ Clamps: Fabrication
The underside brackets are made and bolted to the inside of the absorber backing plate before
the absorber is enclosed in its frame. They could be attached to the finished collector however,
using rivets or self-tapping strews.
All of the following brackets must be made twice: one for each side
Paint all the angle iron and flat iron to be used with anti-corrosive paint before assembly.
Creating the brackets requires a high level of precision; they must fit together snugly to
minimize danger of the glass falling out during high winds. The dimensions below are given as
guidance. If collector dimensions are modified the brackets should be redesigned. It seems
better to drill the collector upper-side brackets first and position the holes in the under-side
brackets accordingly.
2.3.1 Top of collector underside bracket:
Cut a 195mm length of 25 x 25 x 2mm angle iron. This can be done with a hacksaw; if using a
chop-saw allow for the thickness of the disc. Position the saw at 45° across one side, making
an angled cut, and carry on sawing straight down with an angled saw on the other. Cut a
second 210mm length at – 45°.
These two lengths now join together to form a right-angle. Weld together into a right-angle
formation. The 45° weld identifies the horizontal side. Drill a 6.5mm ø hole 10mm from the
edge on the longer (210mm) section (horizontal side.) In the shorter (195mm) section drill
(6.5mm) holes, 50mm and 120mm from the edge (horizontal side.) Drill a hole on the vertical
side of this 195mm section, 100mm from the right-angle. The exact position will be determined
by alignment with the hole in the upper-side bracket, when they are both in position with the
collector in between.
14