PowerPoint 2010
Text Basics
Introduction
It's important to know how to perform basic tasks with text when working in PowerPoint. In this lesson, you'll learn the basics of working with text, including how to insert , delete , and move text; how to work with text boxes ; and how to format text.
Text basics
If you're new to PowerPoint, you'll need to learn the basics of working with text so you can add and arrange text on your slides. You'll need to know how to insert , delete , move , and format text, as well as how to use text boxes .
Optional: You can download this example for extra practice.
To insert text:
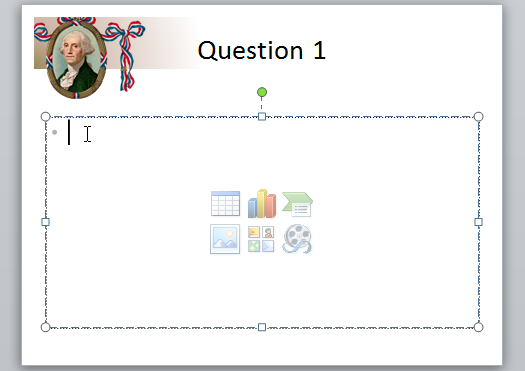
- Click the placeholder or text box where you want to insert text.
-
The
insertion point
appears.
 Text insertion point
-
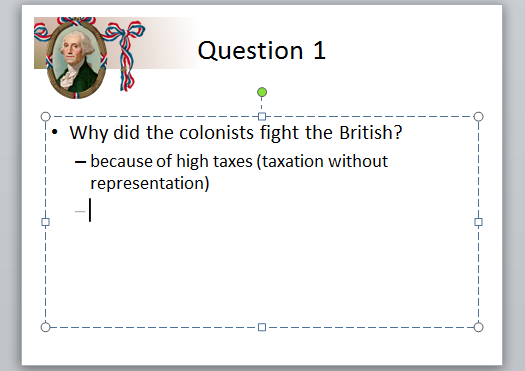
Type directly into the placeholder or text box.
 Typing in a placeholder or text box
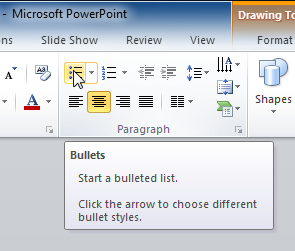
Some placeholders automatically format your text in a bulleted list . This is because bulleted lists are frequently used in PowerPoint. To remove the bullets, deselect the Bullets command in the Paragraph group on the Home tab.
To delete text:
- Place the insertion point next to the text you want to delete.
- Press the Backspace key on your keyboard to delete text to the left of the insertion point.
- Press the Delete key on your keyboard to delete text to the right of the insertion point.
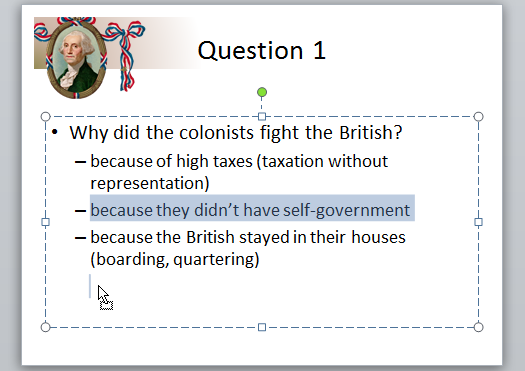
To select text:
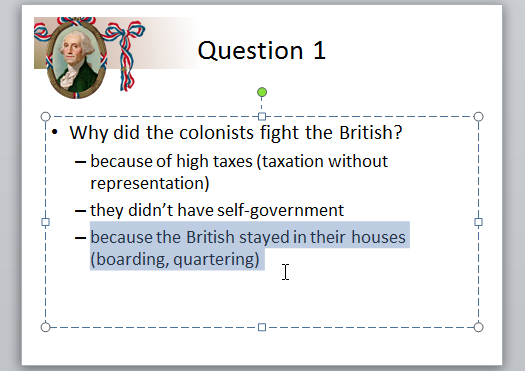
- Place the insertion point next to the text you want to select.
- Click the mouse button. While holding it down, drag the mouse over the text.
-
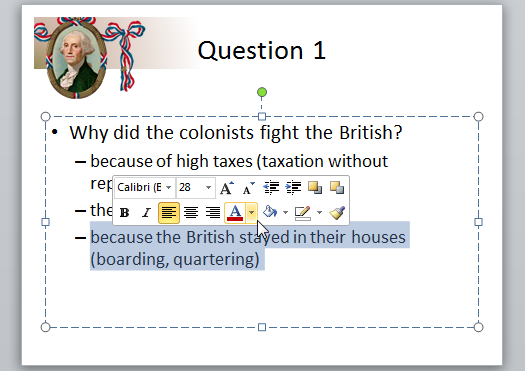
Release the mouse. The text will be selected. A
highlighted box
will appear over the selected text.
 Selected text
When you select text in PowerPoint, a hover toolbar with formatting options appears. This makes formatting commands easily accessible, which can save you time. If the toolbar does not appear at first, try moving the mouse over the selection.
 Hover toolbar
To copy and paste text:
- Select the text you want to copy.
-
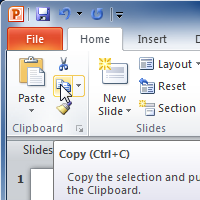
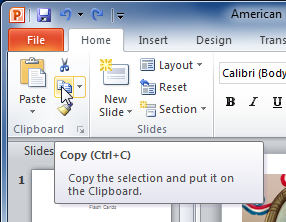
Click the
Copy
command on the Home tab. You can also right-click your selection and choose
Copy
.
 Copy command
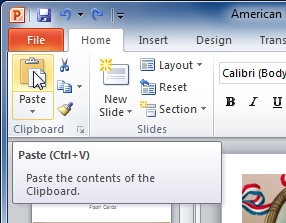
- Place your insertion point where you want the text to appear.
-
Click the
Paste
command on the Home tab. The text will appear.
 Paste command
To cut and paste text:
- Select the text you want to cut.
-
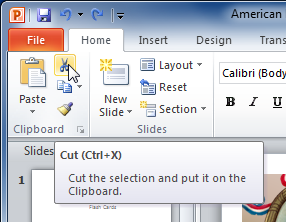
Click the
Cut
command on the
Home
tab. You can also right-click your selection and choose
Cut
.
 Cut command
- Place your insertion point where you want the text to appear.
- Click the Paste command on the Home tab. The text will reappear.
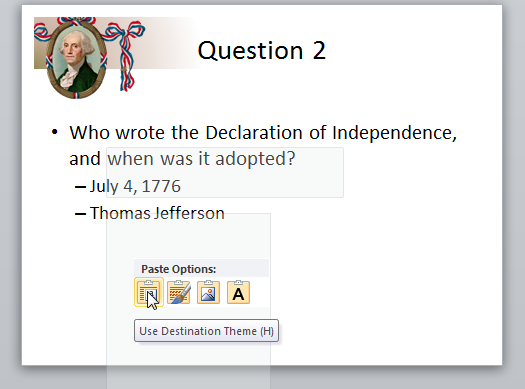
You can also cut, copy, and paste by right-clicking your slide and choosing the desired action from the drop-down menu. When you use this method to paste, you can choose from four options that determine how the text will be formatted: Use Destination Theme , Keep Source Formatting , Picture , and Keep Text Only . You can hover the mouse over each icon to see what it will look like before you click it.
 Right-click Paste Options
To drag and drop text:
- Select the text you want to copy.
-
Click, hold, and
drag
your mouse to the location where you want the text to appear. The cursor will have a rectangle underneath it to indicate that you're moving text.
 Moving text
- Release the mouse button, and the text will appear.
If text does not appear in the exact location you want, you can press the Enter key on your keyboard to move the text to a new line.
Find and Replace
Find and Replace is another technique that can be used to edit text. Find and Replace allows you to search all of your slides for a specific word or phrase (English, for example), then replace it with another word or phrase (British, for example). To learn more, visit the Find and Replace lesson from our Word 2010 tutorial.
Working with text
As you create your presentation, you can add text boxes to help organize your slides. You'll also need to know how to format text to create the look you need.
To add a text box:
Text can be inserted into both placeholders and text boxes . A placeholder is a kind of text box, but it's unique because it is part of the slide layout and often contains formatting specific to the slide (a larger font size for the title of your presentation, for example). Inserting an extra text box allows you to add to the slide layout so you can include as much text as you want.
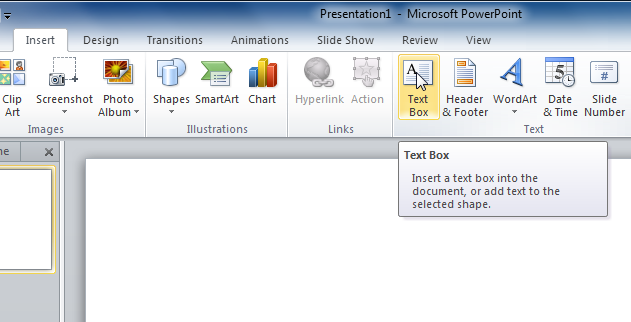
-
From the
Insert
tab, click the
Text Box
command.
 Text Box command
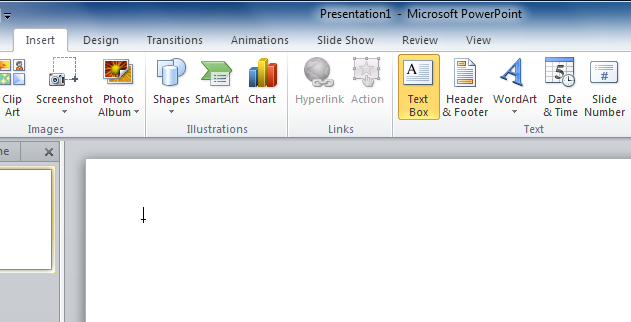
-
Your cursor will turn into an
upside-down cross
 .
.
 Text Box cursor
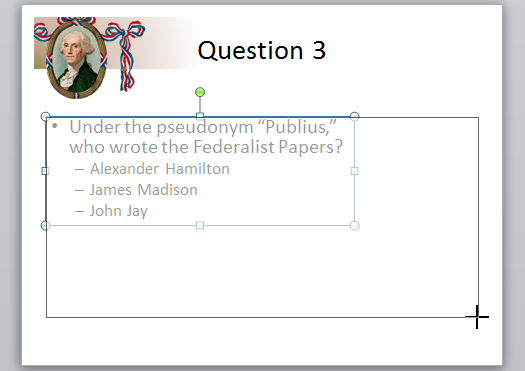
-
Click the area on your slide where you want to add a text box. A text box will appear with an
insertion point
inside.
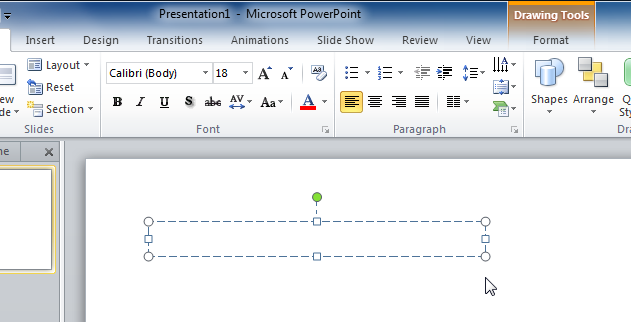 A text box
To move a placeholder or text box:
- Click the box you want to move.
-
Position your mouse on the
border
of the box so it changes to a
cross with arrows
 .
.
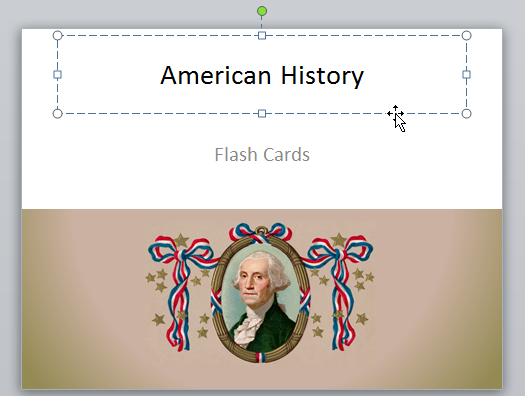 Mousing over the border of the box
-
Click and hold the mouse button as you
drag
the box to the desired location.
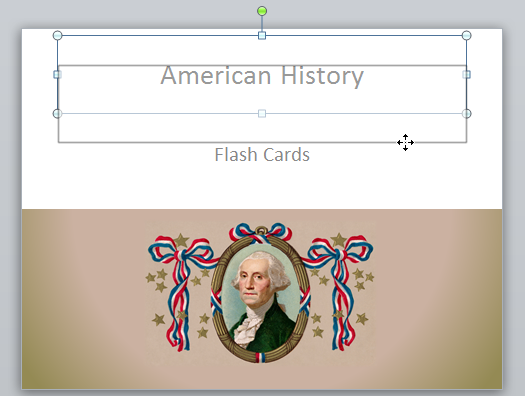 Moving the box
- Release the mouse button. The box will be moved.
To rotate the box, click and drag the green circle at the top of the box.
To resize a placeholder or text box:
- Click the box you want to resize.
-
Position your mouse over any one of the
sizing handles
that appear on the corners and sides of the box. The cursor will become a pair of
arrows
 .
.
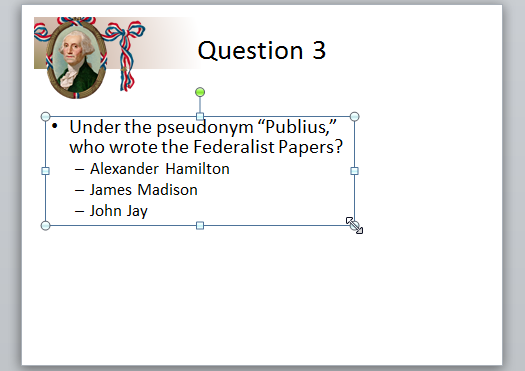 Mousing over the resize handle
-
Click, hold, and
drag
your mouse until the text box is the desired size.
 Resizing the box
- Release the mouse button. The box will be resized.
Formatting text
You can help your text stand out on the slide by changing its formatting , including font size, color, and style.
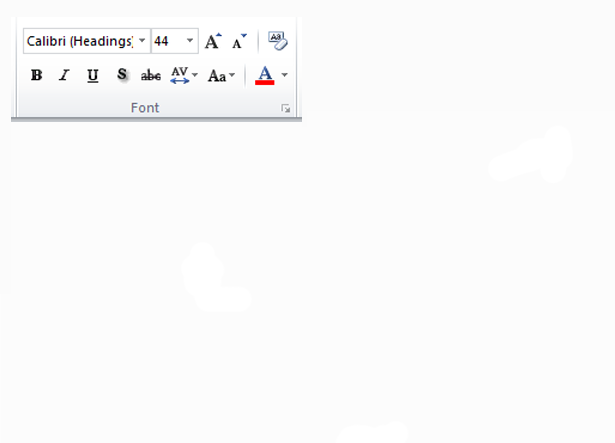
Click the buttons in the interactive below to learn about the different commands in the Font group.
Font Color
Open the drop-down menu to change the font color .

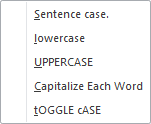
Change Case
Quickly change the case of the selected text.
Character Spacing
Adjust the spacing between characters using the drop-down menu.

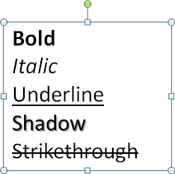
Font Styles
Use the font style commands to apply bold , italic , underline , shadow , or strikethrough to the selected text.
Clear All Formatting
Click to remove all formatting from the selected text, leaving only plain text.
Increase or Decrease Font Size
Use these commands to increase or decrease the size of the selected text to the next standard font size.
Font Size
Choose the size of the selected text using the drop-down menu here.

Font Face
Click the drop-down menu to change the face of the selected text.

Show the Font Dialog Box
Click the arrow in the bottom-right corner to access many of these formatting options.

To learn more about using the Font commands, visit the Formatting Text lesson from our Word 2010 tutorial.
Modifying text
To insert a bulleted list:
- Select the text box or specific text you want to format as a bulleted list.
-
Click the
Bullets
command in the
Paragraph
group on the
Home
tab.
 Bullets command
-
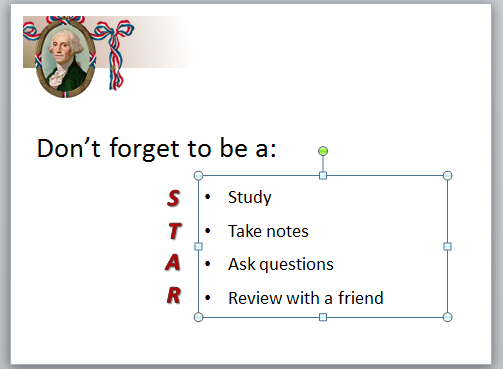
A bulleted list will appear.
 Bulleted list
To change horizontal text alignment:
- Select the text you want to modify.
-
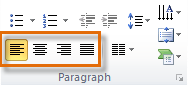
Select one of the four
alignment options
in the
Paragraph
group.
- Align Text Left: Aligns all of the selected text to the left margin
- Center: Aligns text an equal distance from the left and right margins
- Align Text Right: Aligns all of the selected text to the right margin
-
Justify:
Aligns text equally on both sides to the right and left margins; used by many newspapers and magazines
 Alignment commands
The alignment commands align the text within the placeholder or text box it is in, not across the slide.
To change vertical text alignment:
- Select the text you want to modify.
-
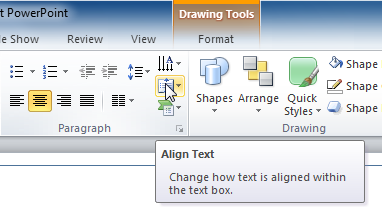
Click the
Align Text
command in the
Paragraph
group. A menu will appear.
 Align Text command
-
Choose to align the text at the
Top
,
Middle
, or
Bottom
of the text box.
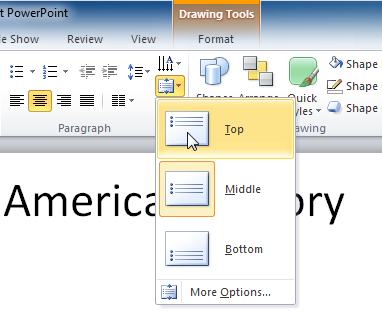 Choosing from the Align Text menu
To change text direction:
- Select the text you want to modify.
-
Click the
Text Direction
command in the
Paragraph
group. A menu will appear.
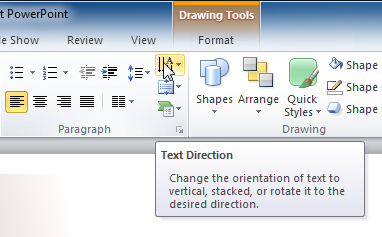 Text Direction command
-
Choose for the direction of the text to be
Horizontal
,
Rotated
, or
Stacked
.
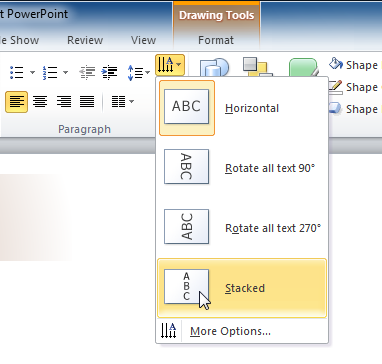 Choosing from the Text Direction menu
Challenge!
- Open an existing PowerPoint presentation . If you want, you can use this example .
- Insert text in a placeholder or text box. If you are using the example, add a title to slide 2.
- Insert a text box , then move and resize it.
- Delete text . If you are using the example, delete the last bullet from slide 3.
- Select text and try the Copy , Cut , and Paste commands.
- Modify text so it is a bulleted list . If you are using the example, bullet the list on slide 8.
- Experiment with horizontal and vertical alignment .
- Change text direction . If you are using the example, modify the word STAR on slide 8 so it is stacked.