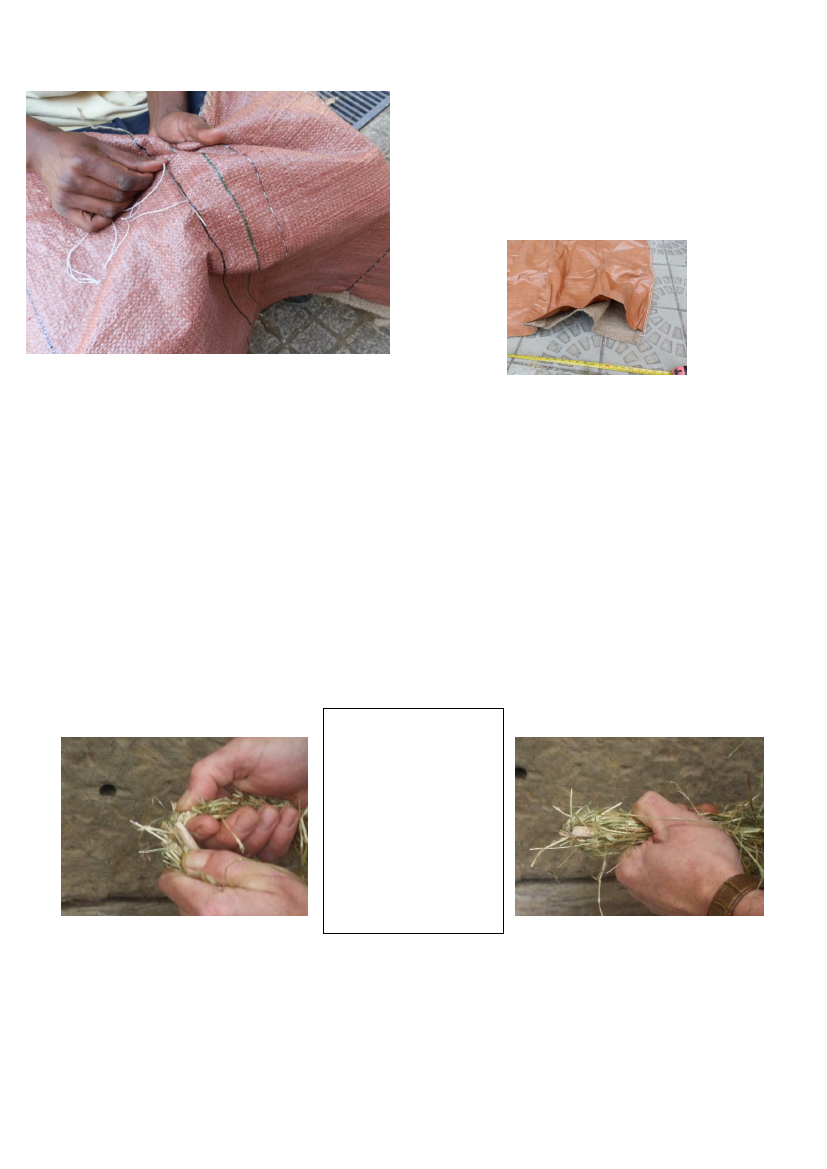
Stitching
Each of the lines just marked now need
to be stitched along, a simple running stitch is
fine, and this will give 5 separate pockets ready
for stuffing. The line between the stitching in
this photo is the centre line; you can just make
a small mark each side.
Running stitch (above)
pockets
Stuffing
This is the most crucial part of the job. Start by stuffing the bars (2). Don’t think that
by making them soft you will make the saddle more comfortable for the donkey, you want
to get as much straw or hay in there as you can, beating it down regularly to shape it and
allow you to get a bit more in. If you don’t then all that will happen is that the straw will
compress with use, your bars will become thin and the cargo will start to catch on the
donkey’s back.
I like to use a longish straw for this job, take a small bundle, around 1 cm thick in your
left hand, twist and fold it in half and place it between the ‘V’ in your stuffing rod.
Picture left, holding down
one end of the straw or hay
in your left hand, twist and
bend it over the ‘V’.
Picture right, holding both
ends of the hay/straw and
moving your right hand
back to the haft, you are
now ready to place the
straw into the sack.
You can now use the rod to place the stems right into the bottom corner of your first bar.
Build on this, placing each bundle carefully, then, when it’s looking fairly full beat it down,
hard, carry on laying more straw on top, and working your way back up the bar. You don’t
want a round sausage shape; try to get it to a squarish cross section. Before you start it is
worth sprinkling a little water over your pile of straw to dampen it a little. This will allow
you to bend and twist your bundle without it just snapping in two.
7