PowerPoint 2010
Applying Transitions
Introduction
T ransitions are motion effects that when in Slide Show view add movement to your slides as you advance from one slide to another. There are many transitions to choose from, each one of which allows you to control the speed and even add sound.
In this lesson, you'll learn how to apply and customize slide transitions.
Applying transitions
If you've ever seen a PowerPoint presentation that had special effects between each slide, you've seen slide transitions . A transition can be as simple as fading to the next slide or as complex as a flashy, eye-catching effect. This means you can choose transitions to fit the style of any presentation.
Optional: You can download this example for extra practice.
About transitions
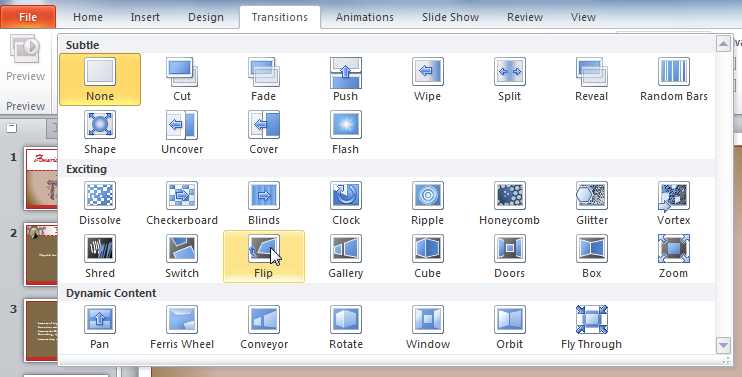
There are three categories of unique transitions to choose from, all of which can be found on the Transitions tab:
-
Subtle
(slight transitions)
 Subtle transitions
-
Exciting
(strong transitions)
 Exciting transitions
-
Dynamic Content
(strong transitions that affect only the content, such as text or images)
 Strong transitions
To apply a transition:
- Select the slide you want to modify.
- Click the Transitions tab.
-
Locate the
Transition to This Slide
group. By default,
None
is applied to each slide.
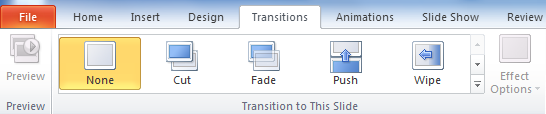 Transition to This Slide group
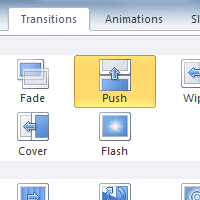
- Click the More drop-down arrow to display all of the transitions.
-
Click a
transition
to apply it to the selected slide. This will automatically preview the transition as well.
 Choosing a transition
When working with transitions, the Apply To All command in the Timing group can be used at any time to make your presentation uniform. Use this command with caution. Not only does it apply the same transition to every slide, but it also applies the settings in the Timing group, which you may not want to be the same throughout your presentation.
To preview a transition:
You can preview the transition for a selected slide at any time, using either of these two methods:
-
Click the
Preview
command on the
Transitions
tab.
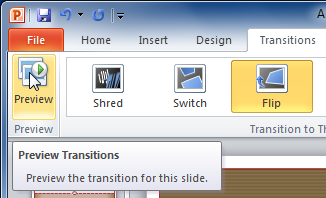 Preview command
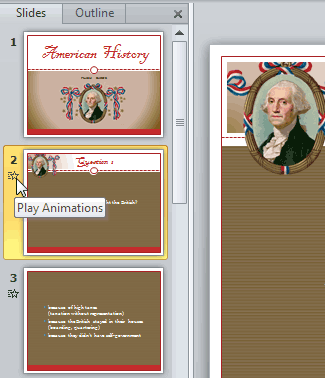
-
Click the star
Play Animations
icon. The icon appears on the
Slides
tab in the
left pane
beside any slide that includes a transition.
 Play Animations icon
Modifying transitions
To modify the duration:
- Select the slide that includes the transition you want to modify.
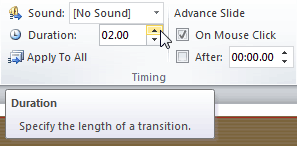
-
In the
Duration
field in the
Timing
group, enter the amount of time you want the transition to take. In this example, we will specify the length as 2 seconds, or 02.00.
 Modifying the duration of a transition
To add sound:
- Select the slide that includes the transition you want to modify.
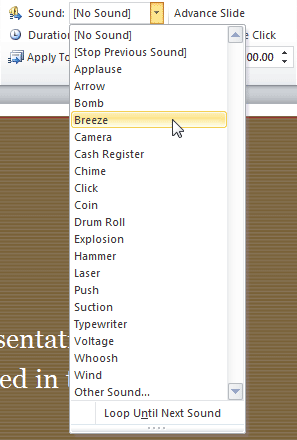
- Click the Sound drop-down menu in the Timing group.
-
You will hear the sound and see a live preview of the transition as you hover over each sound.
 Adding sound to a transition
- Click a sound to apply it to the selected slide.
To remove a transition:
- Select the slide you want to modify.
-
Choose
None
from the gallery in the
Transition to This Slide
group.
 Removing a transition
- Repeat this process for each slide you want to modify.
To remove transitions from all slides , select a slide that uses None , then click the Apply to All command.
Advancing slides
To advance slides automatically:
In Slide Show view, you would typically advance to the next slide by clicking your mouse or pressing Enter on your keyboard. Using the Advance Slides settings in the Timing group, you can set your presentation to advance on its own instead and display each slide for a specific amount of time. This is useful for unattended presentations, such as at a tradeshow booth.
- Select the slide you want to modify.
- Locate the Timing group on the Transitions tab.
- Under Advance Slide , uncheck the box next to On Mouse Click .
-
In the
After
field, enter the amount of time you want to display the slide. In this example, we'll advance the slide automatically after 1 minute 30 seconds, or 01:30:00.
 Advancing the slide automatically
- Select another slide, and repeat the process until all the desired slides have the appropriate timing.
Challenge!
- Open an existing PowerPoint presentation . If you want, you can use this example .
- Select a slide and apply a transition .
- Change the transition duration .
- Add a sound effect to the transition.
- Apply this transition and its settings to all slides .
- Apply a different transition to one slide .
- Remove the transition.